 .
.HOME

CSA & Buyer's Club

Farmer's Market Images
| . . HOME |
CSA & Buyer's Club |
Farmer's Market Images |


The
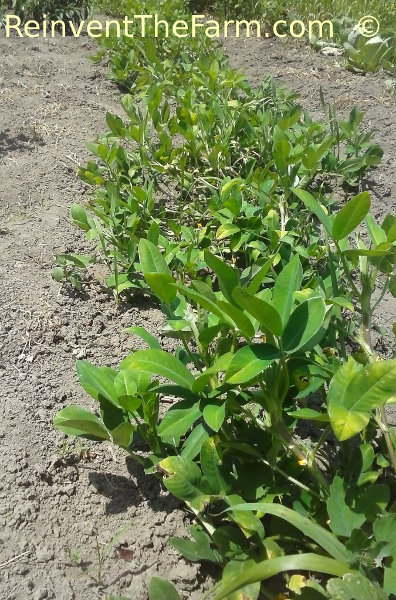
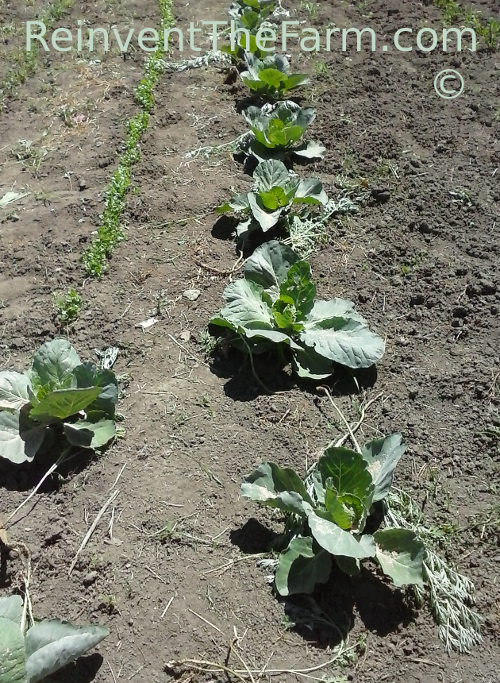
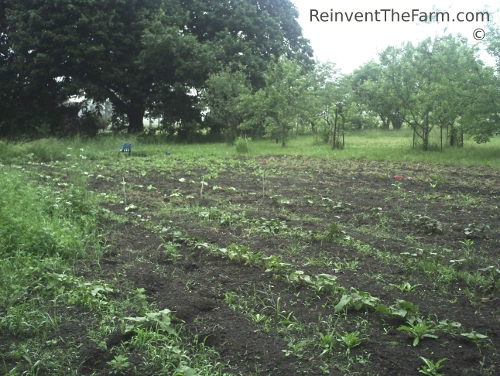
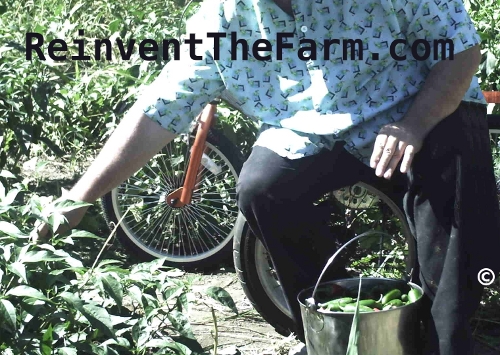
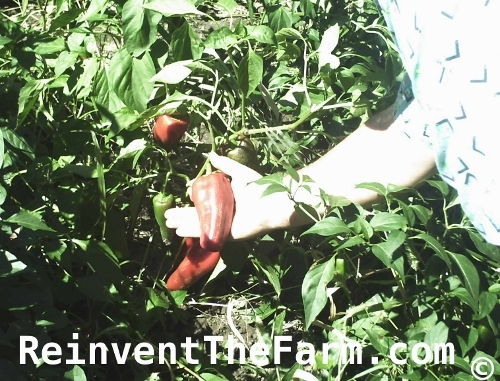
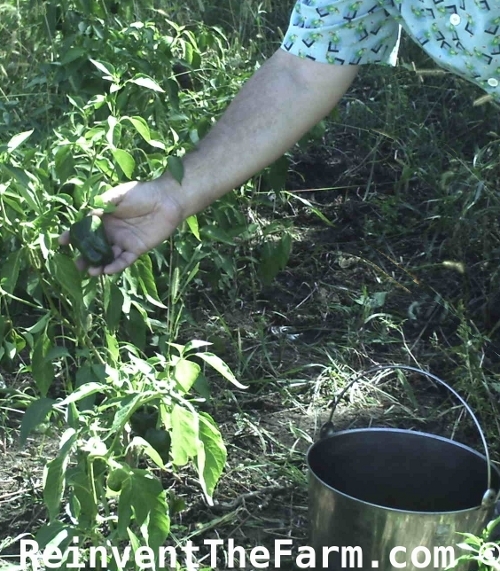
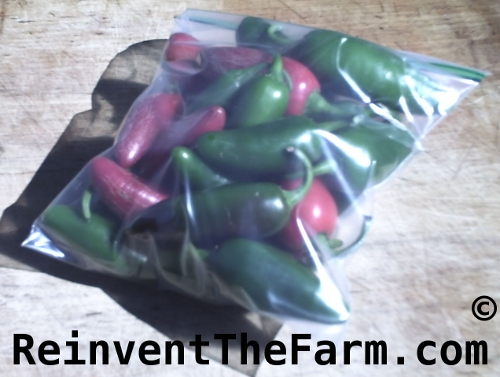
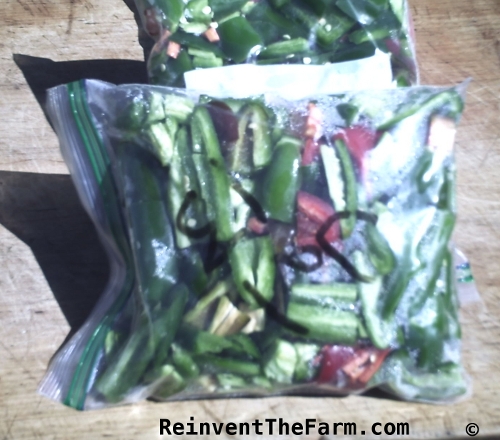
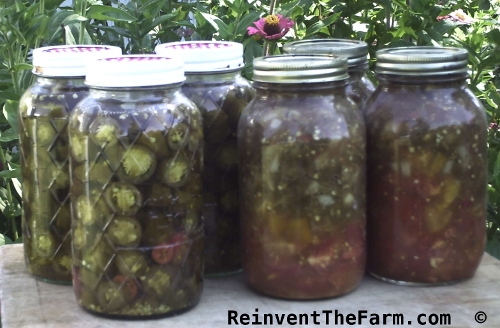
Salsaat ReinventTheFarmNo Salt Most people eat salt in their salsa. Some say it is necessary for preserving canned food. At my house, guest know that they must select their salt mine, opt iodine in or out, and apply their own. I have never been able to refrain from eating my own salsa for more than three years, so I am not expert at long term storage requirements. But I know from experience that the recipe below is good for 3 years without salt. The garlic may be key, and acid level is high for this cold pack can, but it is excellent eating 3rd year, same as first. The Garlic I use all of the cloves of a large size garlic bulb per 7 quart batch of salsa. The hard neck White German of about 3 inch diameter. Carefully peel and smash each clove then finely chop and add to the tomato puree. The Tomato I always use heirloom Cherokee Purple tomatoes. I take the firm meaty ones and dice them to 1/4"to3/8" square and put straight in the quart jar. This salsa is not even stirred until it is served, and tomatoes keep their structure as you take a bite. I take the softer ones and puree them in the hybrid human/solar-electric blender. Boil this down to thicken, but not too much because this is the only liquid solution that we use to expel the air from the can. Stir in the chopped garlic at last minute before pouring into can. The diced tomatoes are put in the can first. Fill can to 1/3 full. The liquid puree will be the last ingredient added before the can is sealed. The Onion I use the Rich Sweet Yellow Exhibition Onion. These are very sweet and when finely diced are placed directly in the can to fill another 1/3 way (jar is now 2/3 full with tomatoes and onion). The Cilantro When you use the leaves of this herb it is called Cilantro. When you use the seed, it is called Coriander. When you buy the seed, it could be listed either way. Fresh Cilantro has a very strong flavor, so it doesn't take much of this. I really like the flavor, so I use at least 2 table spoons of the freshly chopped leaf tops per quart. Take care to use only the tips of the leaves, and remove any stems. Going to this much trouble to get a good salsa, you don't want to spoil the enjoyment with these stems between your teeth. The Pepper I always use only the slightly mild to hot Jalapeños in my salsa. It can only be called 'gall' to call some of the new really mild peppers 'a Jalapeño'. And some of the other varieties of extra hot peppers just have the wrong taste for me. Getting a good Jalapeño is key for this salsa. Picked green and tender, all of the pepper is used except stem cap. Dice these very finely. Top up last 1/3 of jar with these minus one inch head space. The Process The Cilantro was used straight from plant cutting. The garlic and onions were peeled. The tomatoes and peppers are throughly washed by agitating in clean water with several rinses, and hand wiped dry. (This is from my own garden which has no chemicals and inputs and handling are closely controlled.) Nothing has been cooked or blanched. The last ingredient is the tomato puree (with garlic) poured in hot (to prewarm the glass) and slowly (to allow air bubbles to rise). I normally pour to 1/2" head space going round to each jar, then around again until the bubbles stop rising. Place tips and rings on the jars and put in the pressure cooker (rigged for canning with spacer in bottom). Pour water in around jars until one inch from jar top. Seal the cooker lid, and crank heat up high until pan reaches 5 psi pressure. Immediately stop heat, and pressure down. Remove the cans to the air as soon as you can open the pot. If you are nearby you can hear the lids 'Pop!' as they seal and after jars have cooled, move to permanent storage in cool, dark place. Serving On a date, it may not work for everyone, but I'm pretty sure that I had been eating onions when I got my first kiss. (Another important note, back at prep stage: Wait 3 days after processing hot peppers before holding hands.) This is good food anytime. Serve in small bowls with chips for party dip. There may be enough salt on the chips, but letting guest know where the salt shaker is may be good idea with this recipe. Top off the tacos, or serve on the side with enchiladas. A good side dish for any meal. Cook rice and stir in salsa before serving. For quick Chili con carne, fry some ground meat, and dump in some salsa. For excellent Chicken Quesadillas - Cut boneless, skinless chicken breast to one inch chunks. Brown in frying pan coated with olive oil. Then dump in salsa and salt to taste. Use medium heat till chicken is done. In separate frying pan place pad of butter then spin on a flour tortilla. Apply grated cheddar or jack cheese to half of the tortilla. Pour on chicken/salsa mixture on same side atop the cheese. fold over the tortilla and use mid-high heat till cheese melts, then add another small butter pad and flip to heat other side. Serve with beans and Rice with salsa on the side. Add spice to any meal, and make excellent dishes. Remember the salt, it ain't store bought. |
| . . HOME |
CSA & Buyer's Club |
Farmer's Market Images |
 Eoto Co-op Member |